Garage Door Interface

Garage Door Interface
using Raspberry Pi 3B+
Type in you PI Board IP Address to display web page. For the camera view see the Home Security Camera project

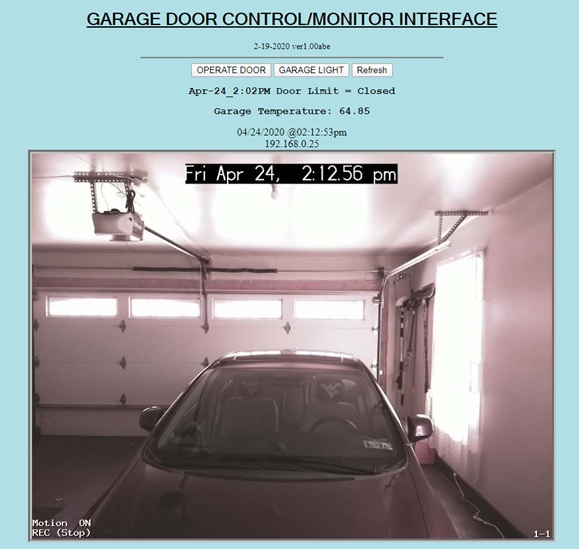
Type in your PI Board IP Address to display the web page. For the camera view see the Home Security Camera project
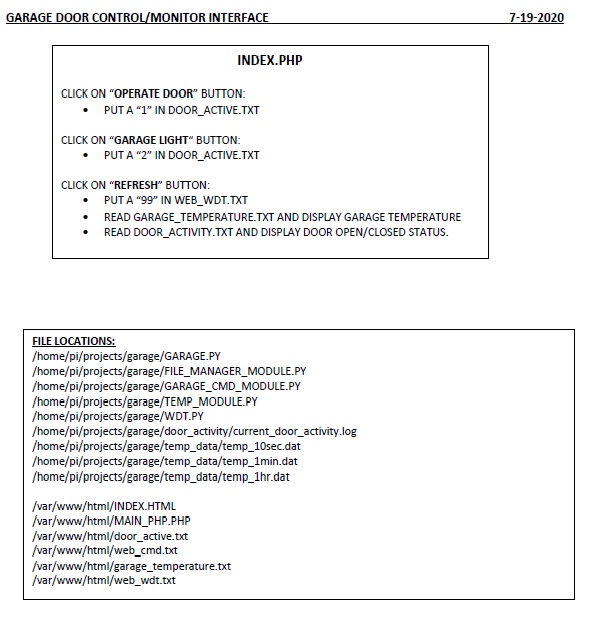
  • Click on the “Operate Door”  button to open/close the door.
  • Click on the “Garage Light” button to turn the light on/off.
  • Click on the “Refresh” button to refresh web page and update door  limit status and garage temperature reading.
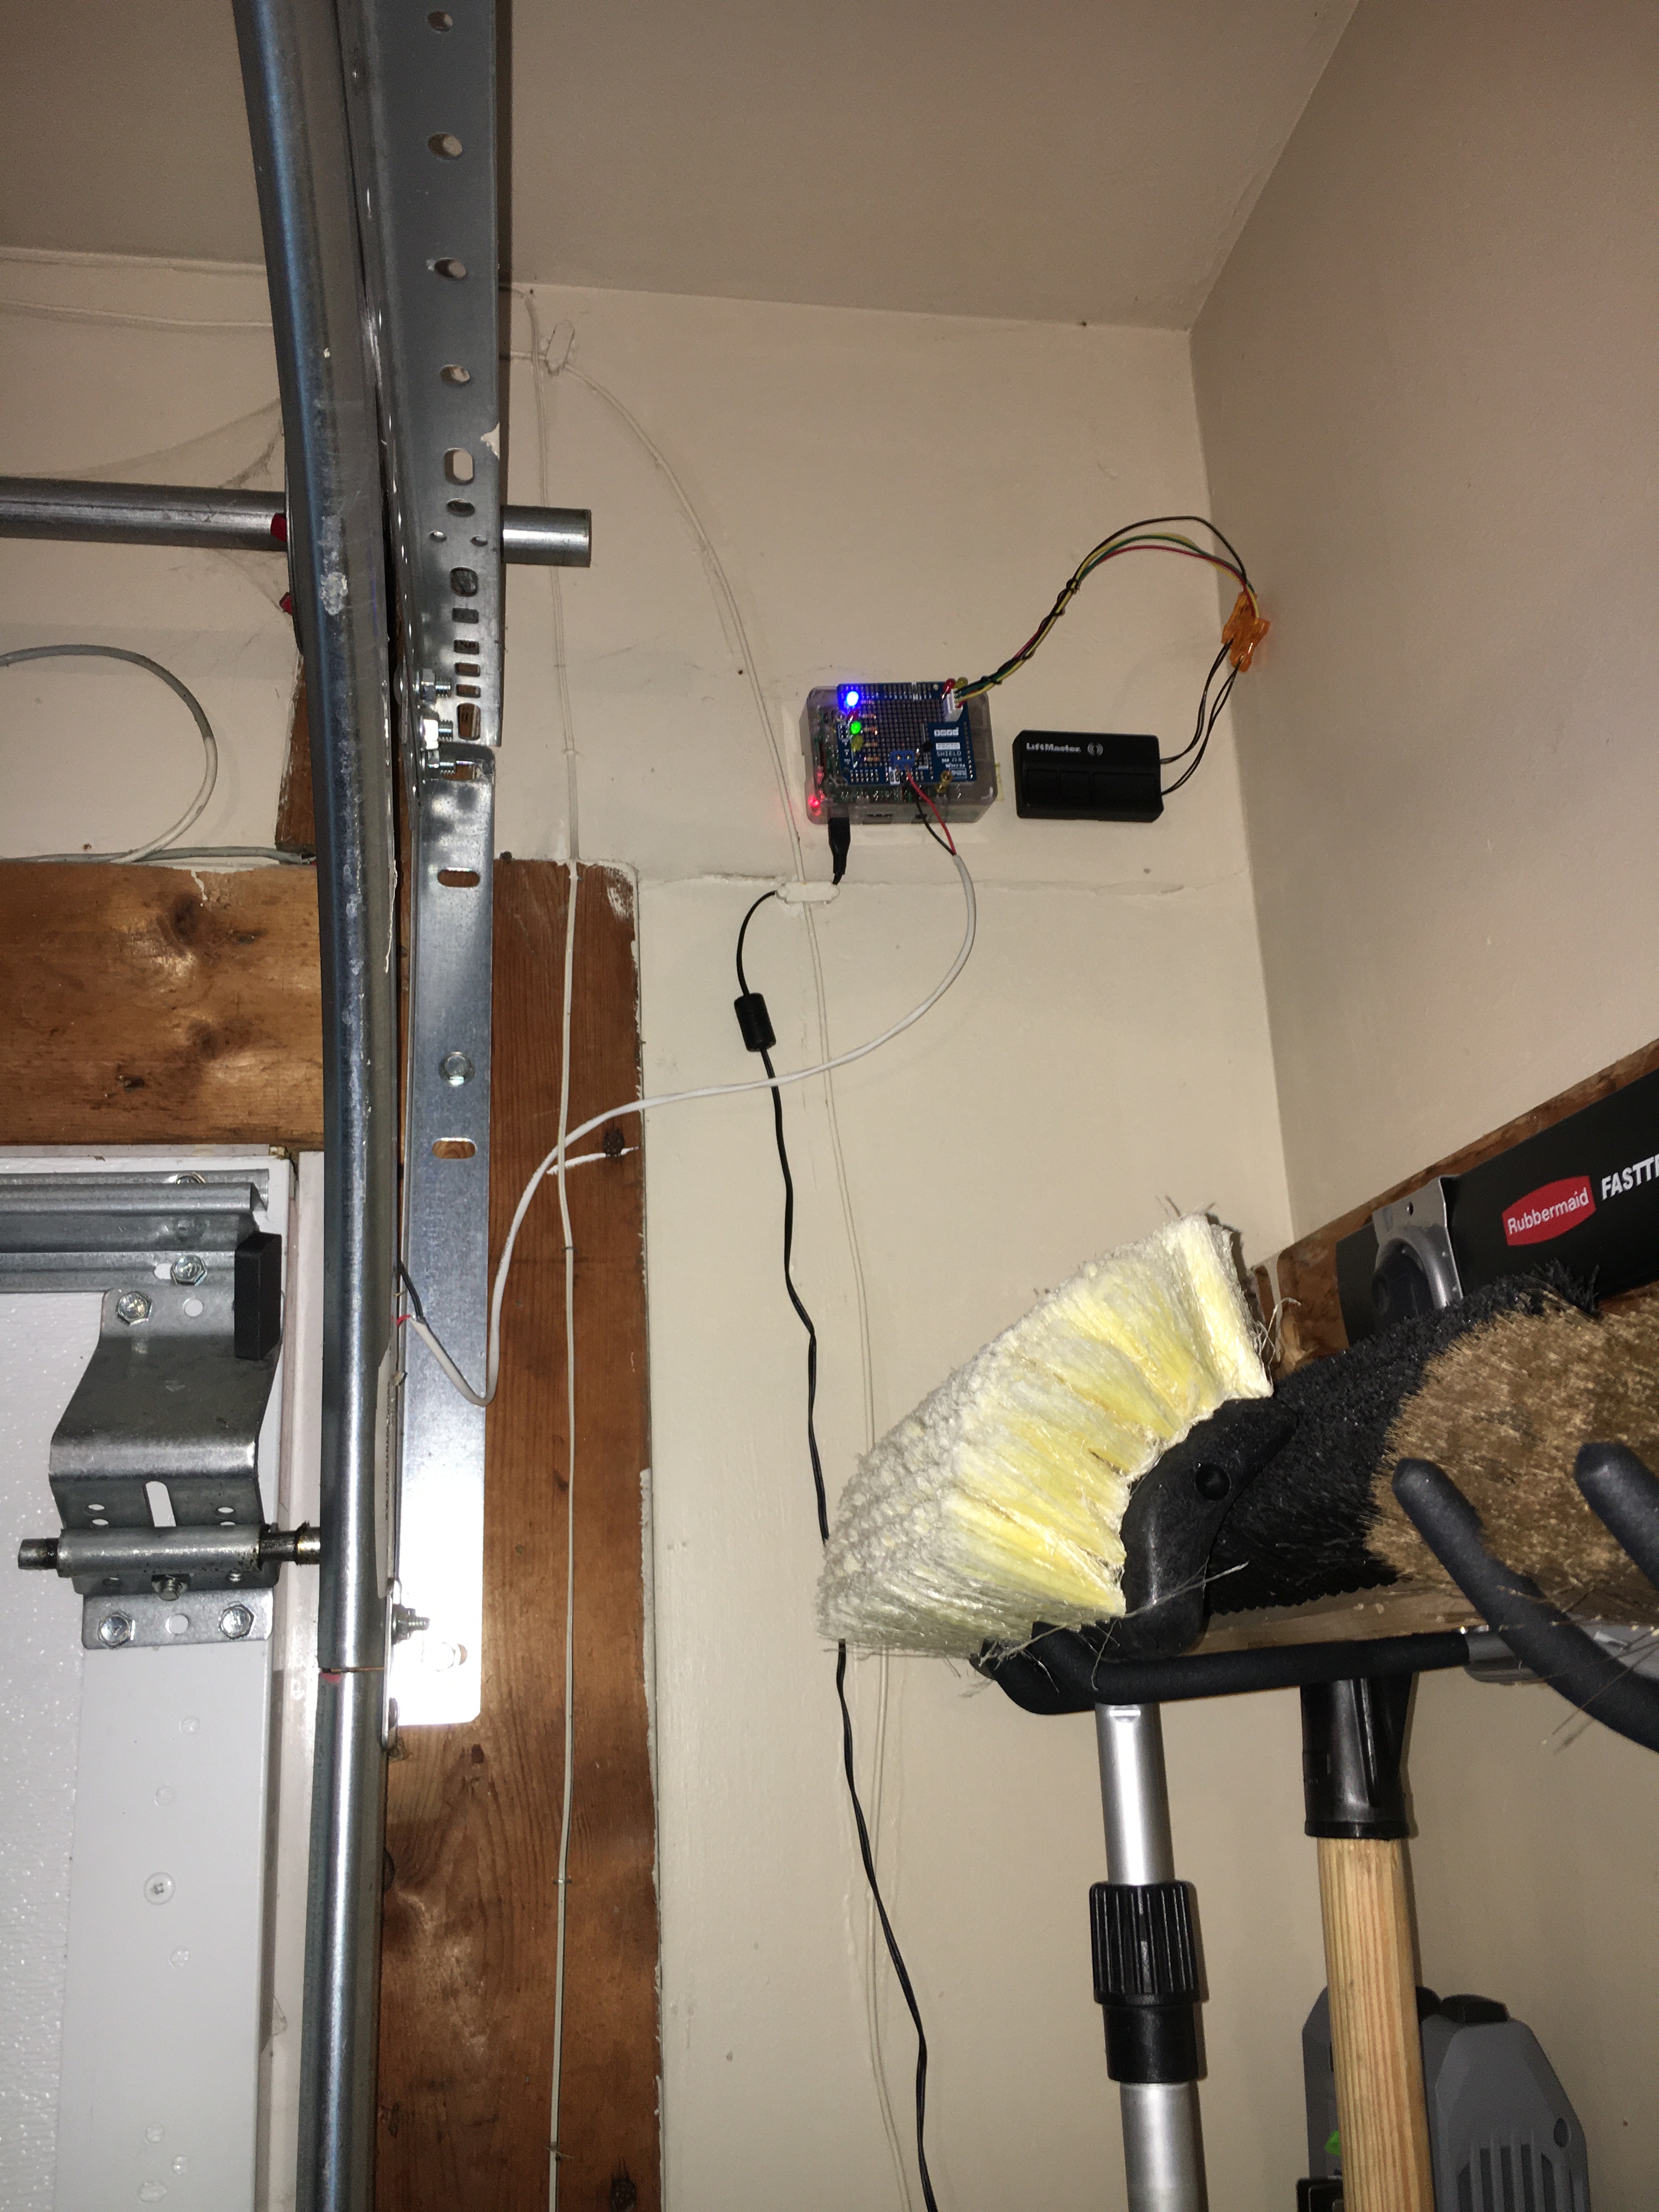
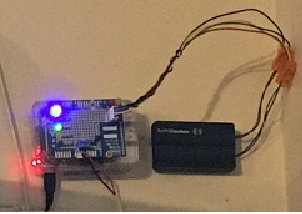
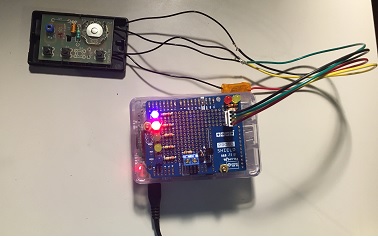
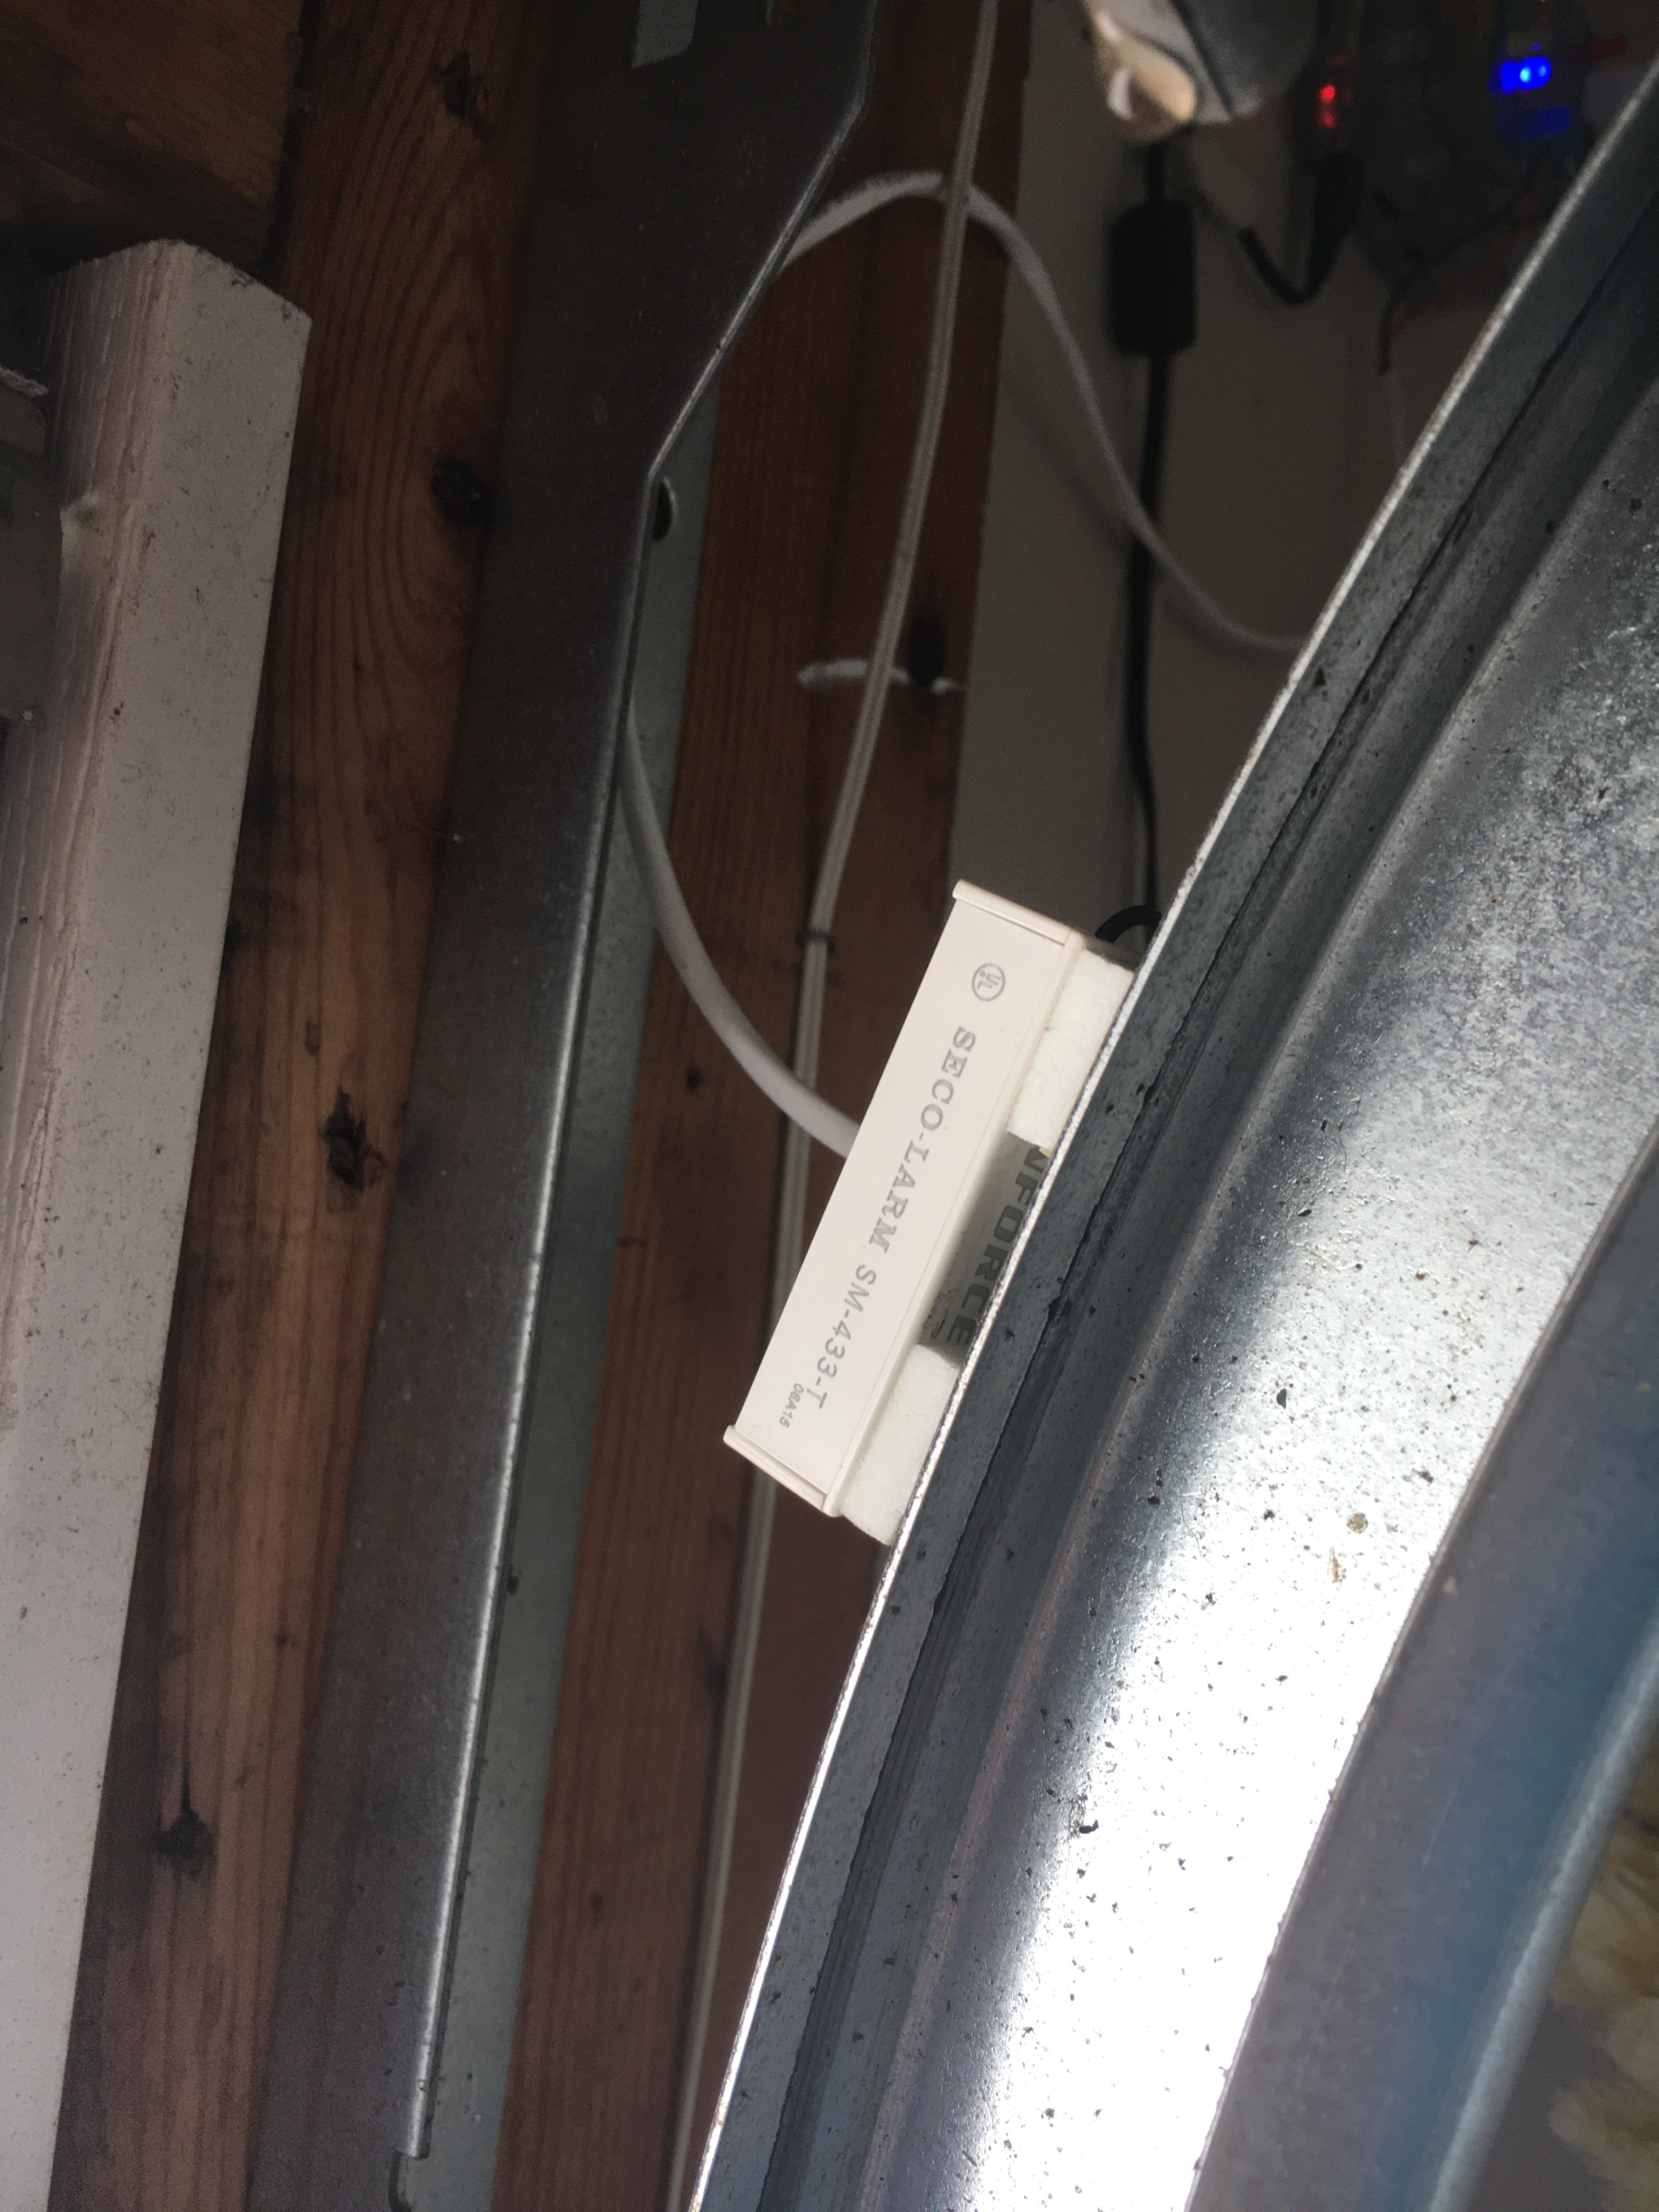
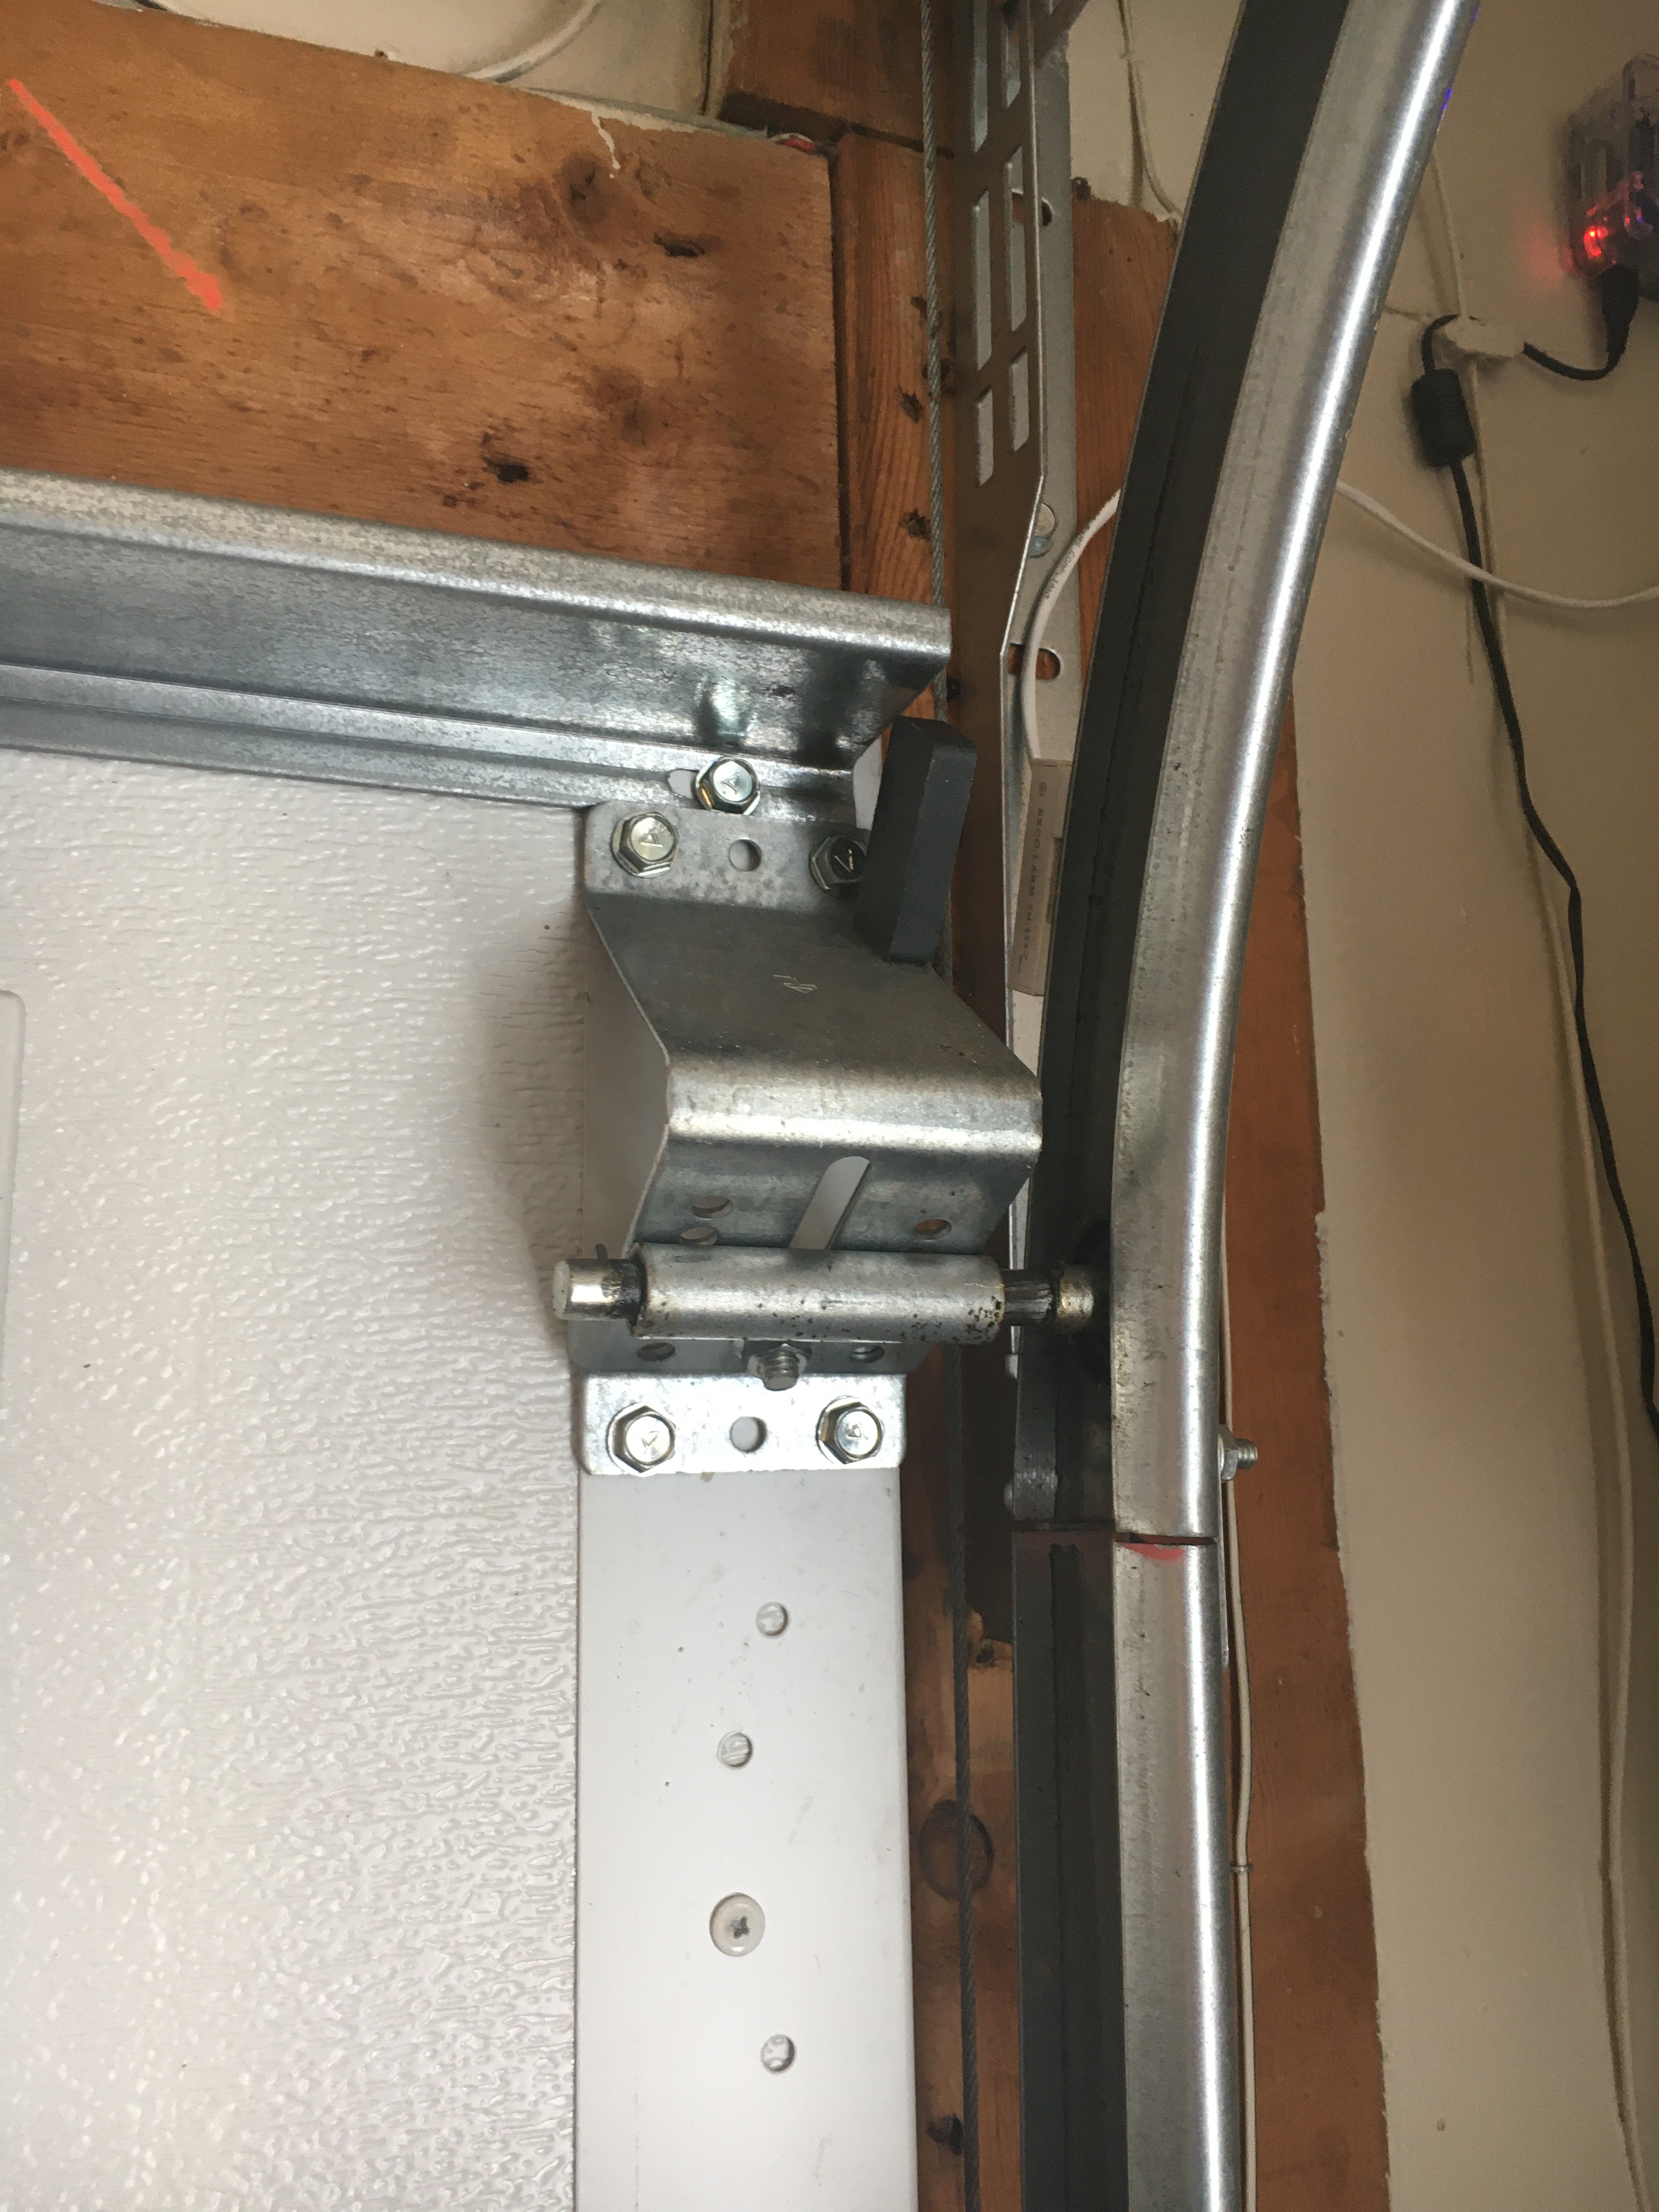
  • Note: control board by the door is shown in the right upper corner of photo.
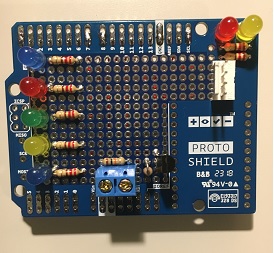
Project Photos:

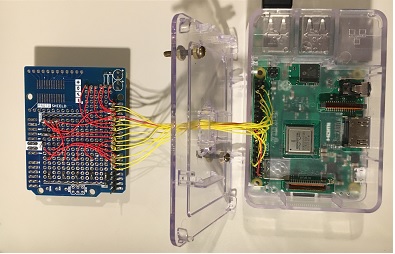
Raspberry PI Boards:

Completed Install: Raspberry Pi Board with proto type board attached. Wireless garage door buttons and limit switch wired to to the proto type board.
Close-Up
Proto board – For LEDs, temperature sensor, limit switch and garage remote connections.
Proto board – wiring on other side.
Raspberry Board wired (wire wrapped) to the Proto Board.
Testing – Boards powered up and connected to garage remote.
Limit Switch attached to garage door rail. Use a magnet to trigger when door is down.
Magnet is just sitting on metal bracket. Door closed position.

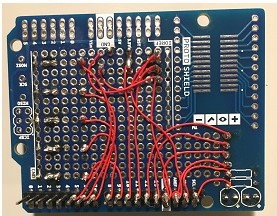
Raspberry Pi Garage Door Interface Electrical Print:
 Garage Door Interface v1.01

Garage Door Programs Flow Chart:
Garage Door Flow Chart
Project Python Files:
GDoor Web files

Below is additional information:

Raspberry Pi Temp Sensor

DS18B20-Datasheet

Lift Master Remote 373LM

sm_433_tq_w_data_sheet

<Submit Form>

abetronics_logo_paypal

<Back to Top>

2 thoughts on “Garage Door Interface”

Leave a Reply

Your email address will not be published. Required fields are marked *